Unwrapped Blog
A Lovingly blog covering all the feels

FLOWER MEANINGS
Our ever-increasing flower encyclopedia will give you every detail you’ve ever wanted to know about every flower growing under the sun.
Discover

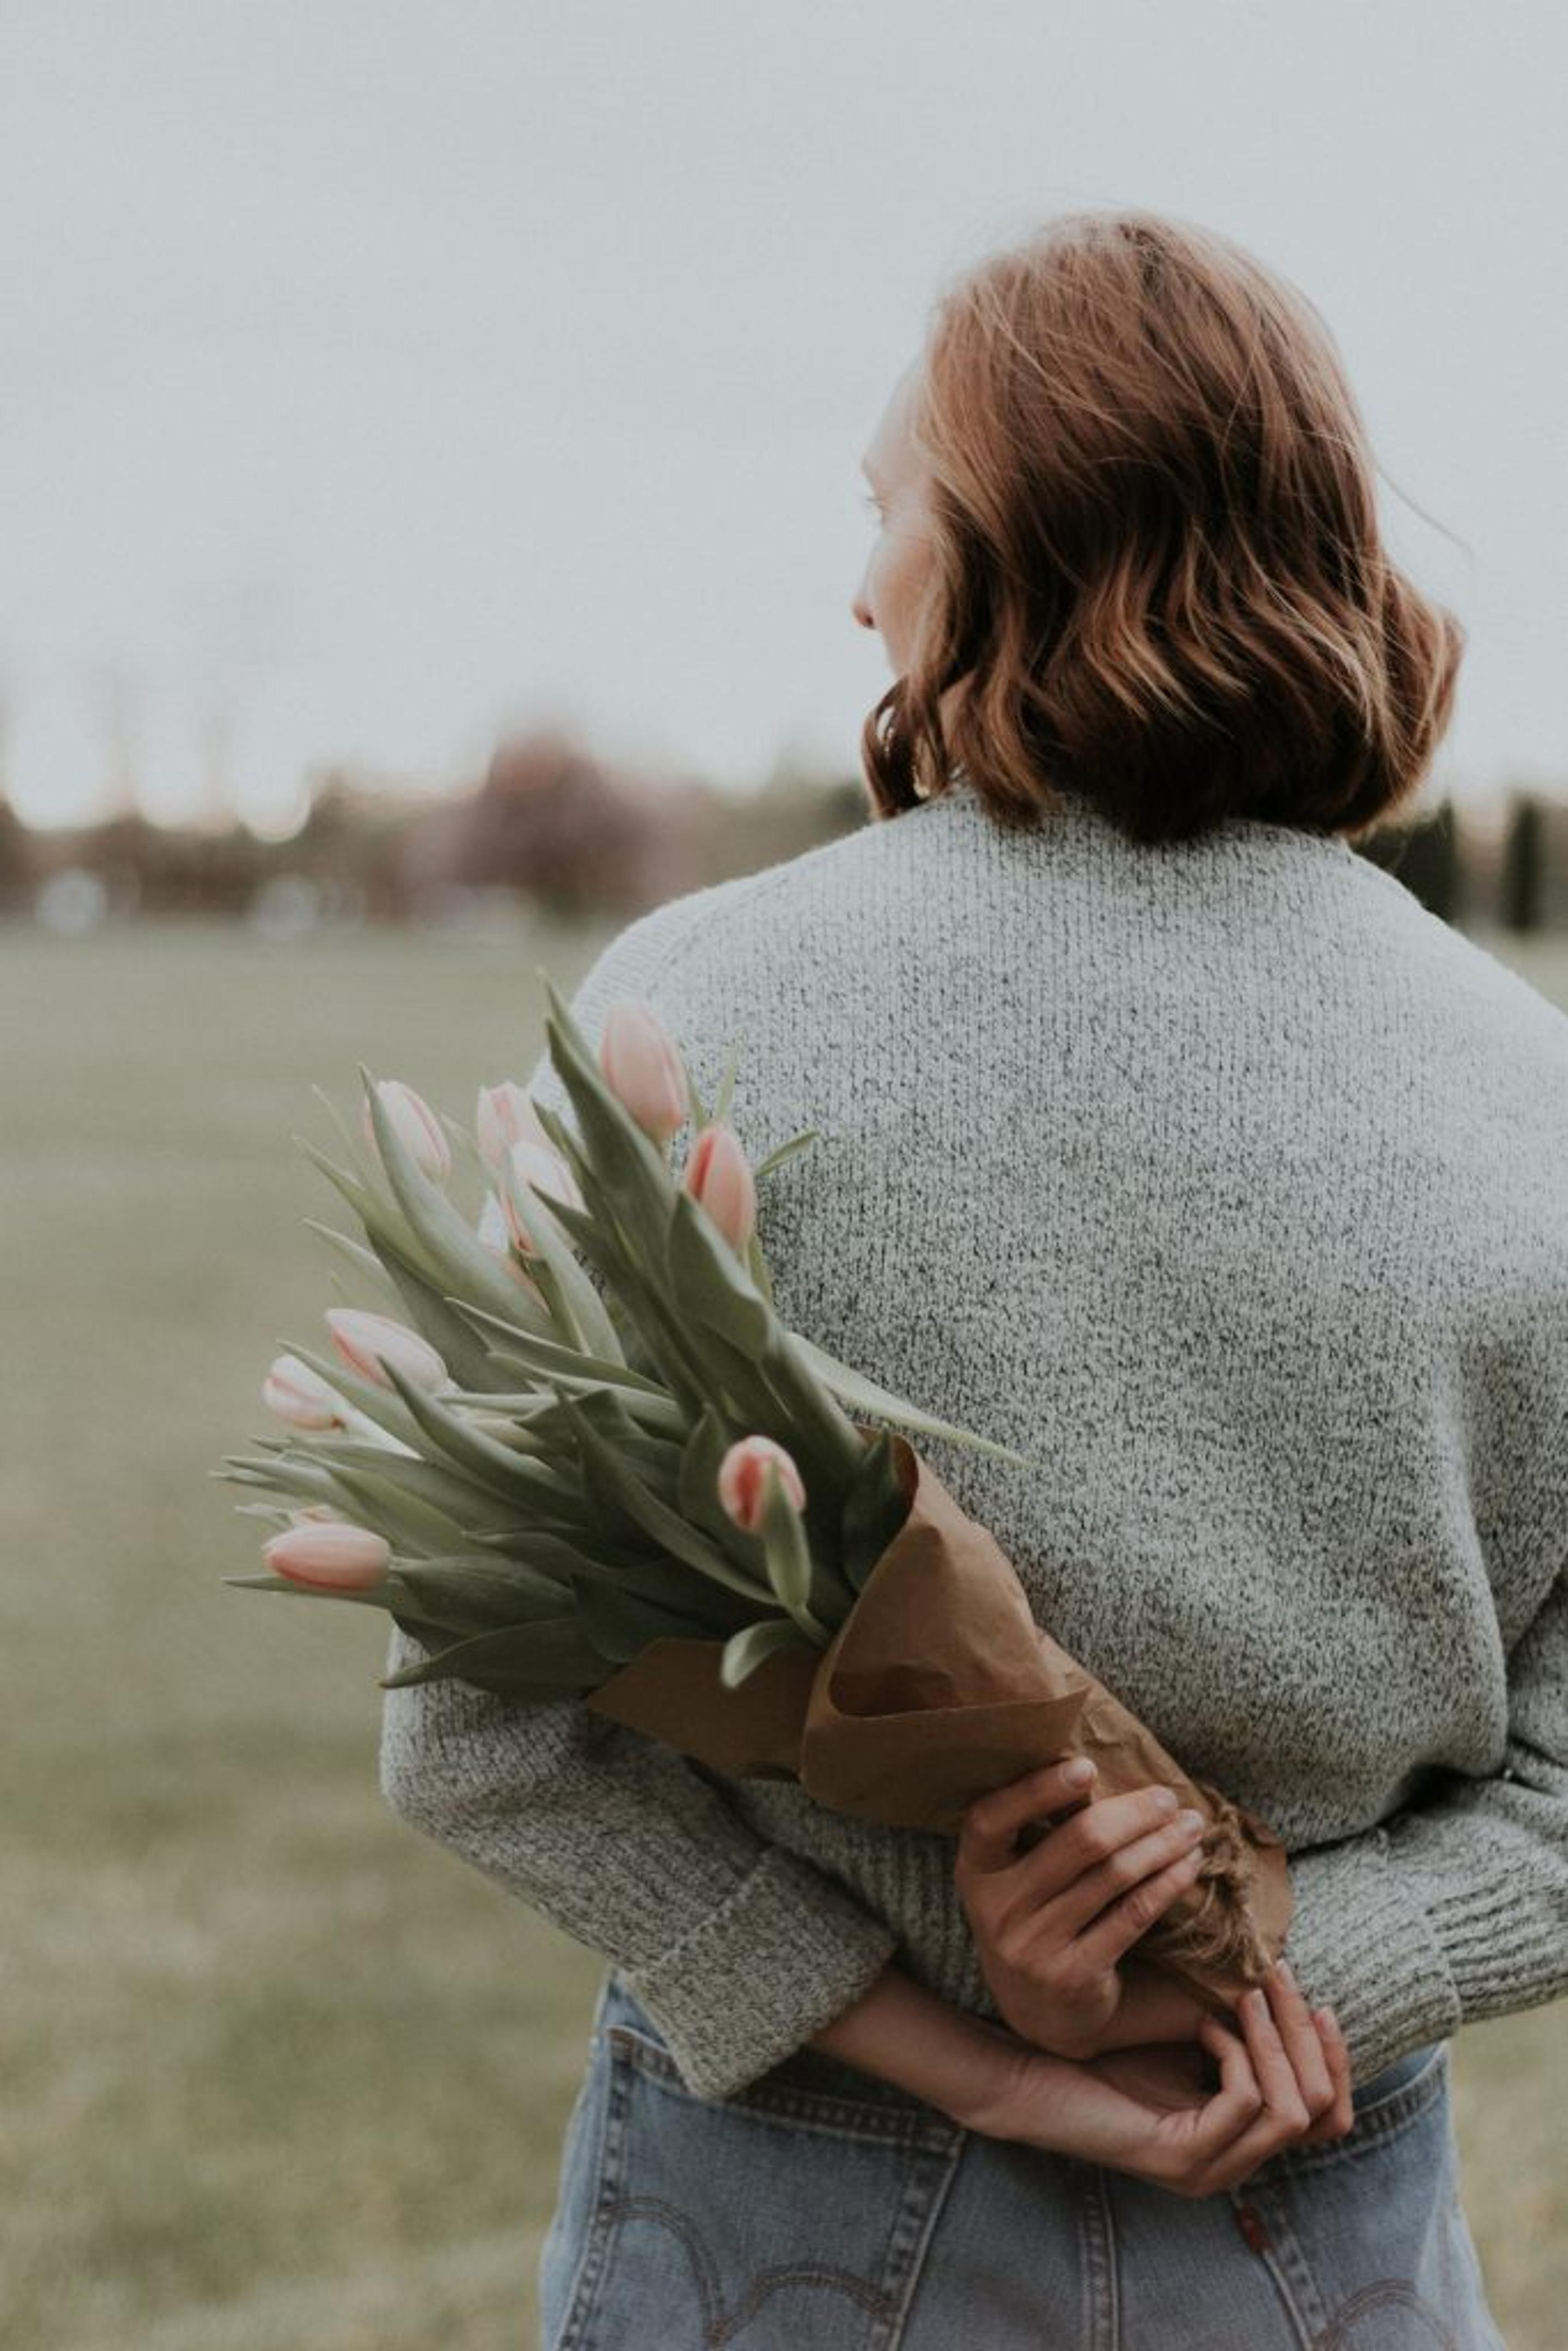
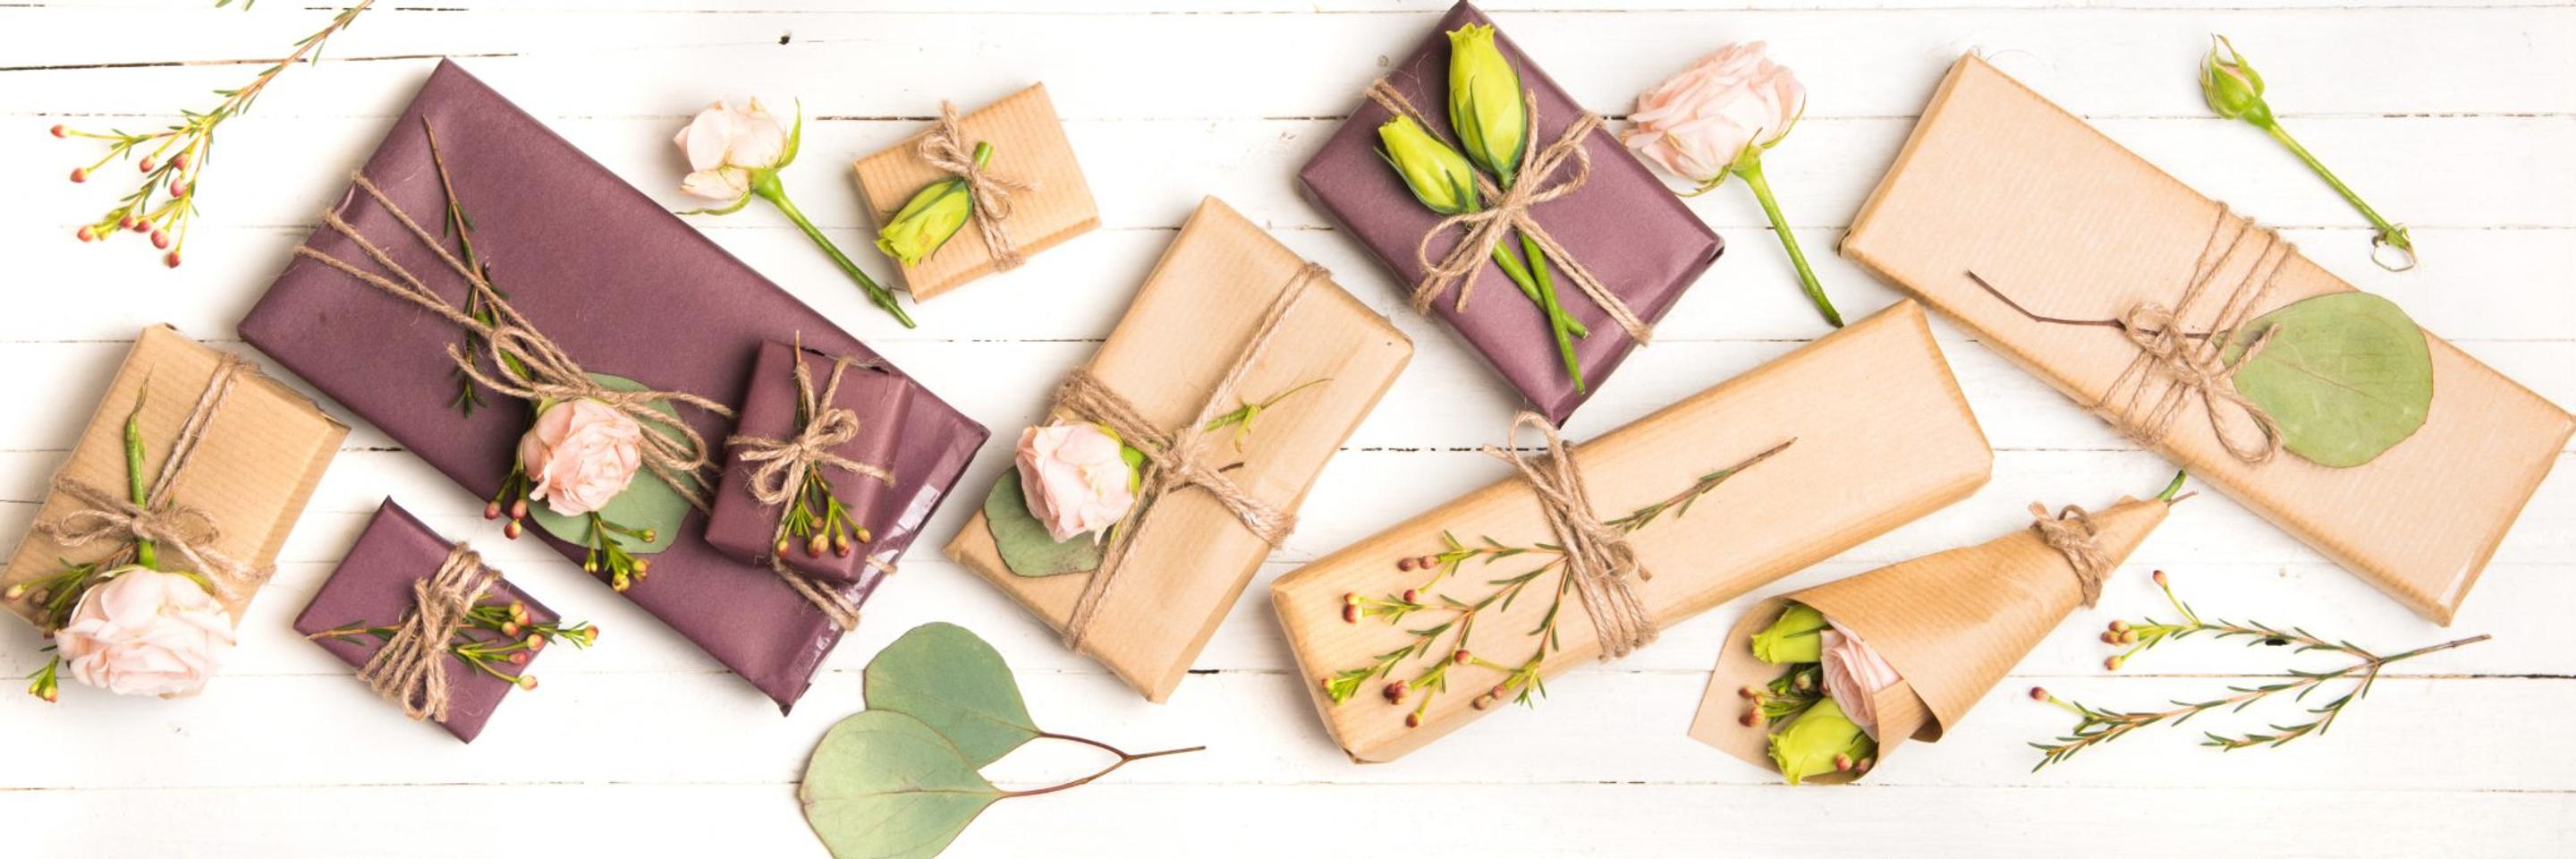
Birthday Gifts for Her: Thoughtful & Unique Gift Ideas She’ll Love

How to Care for Easter Lilies: Growing & Maintaining These Beautiful Blooms
Mother’s Day History, Meaning & Traditions: A Celebration of Moms Everywhere
Mother’s Day Card Messages: What to Write for Every Mom in Your Life
Galentine's Day Ideas & Inspiration
Valentine’s Day Quotes & Puns to Make Her Swoon

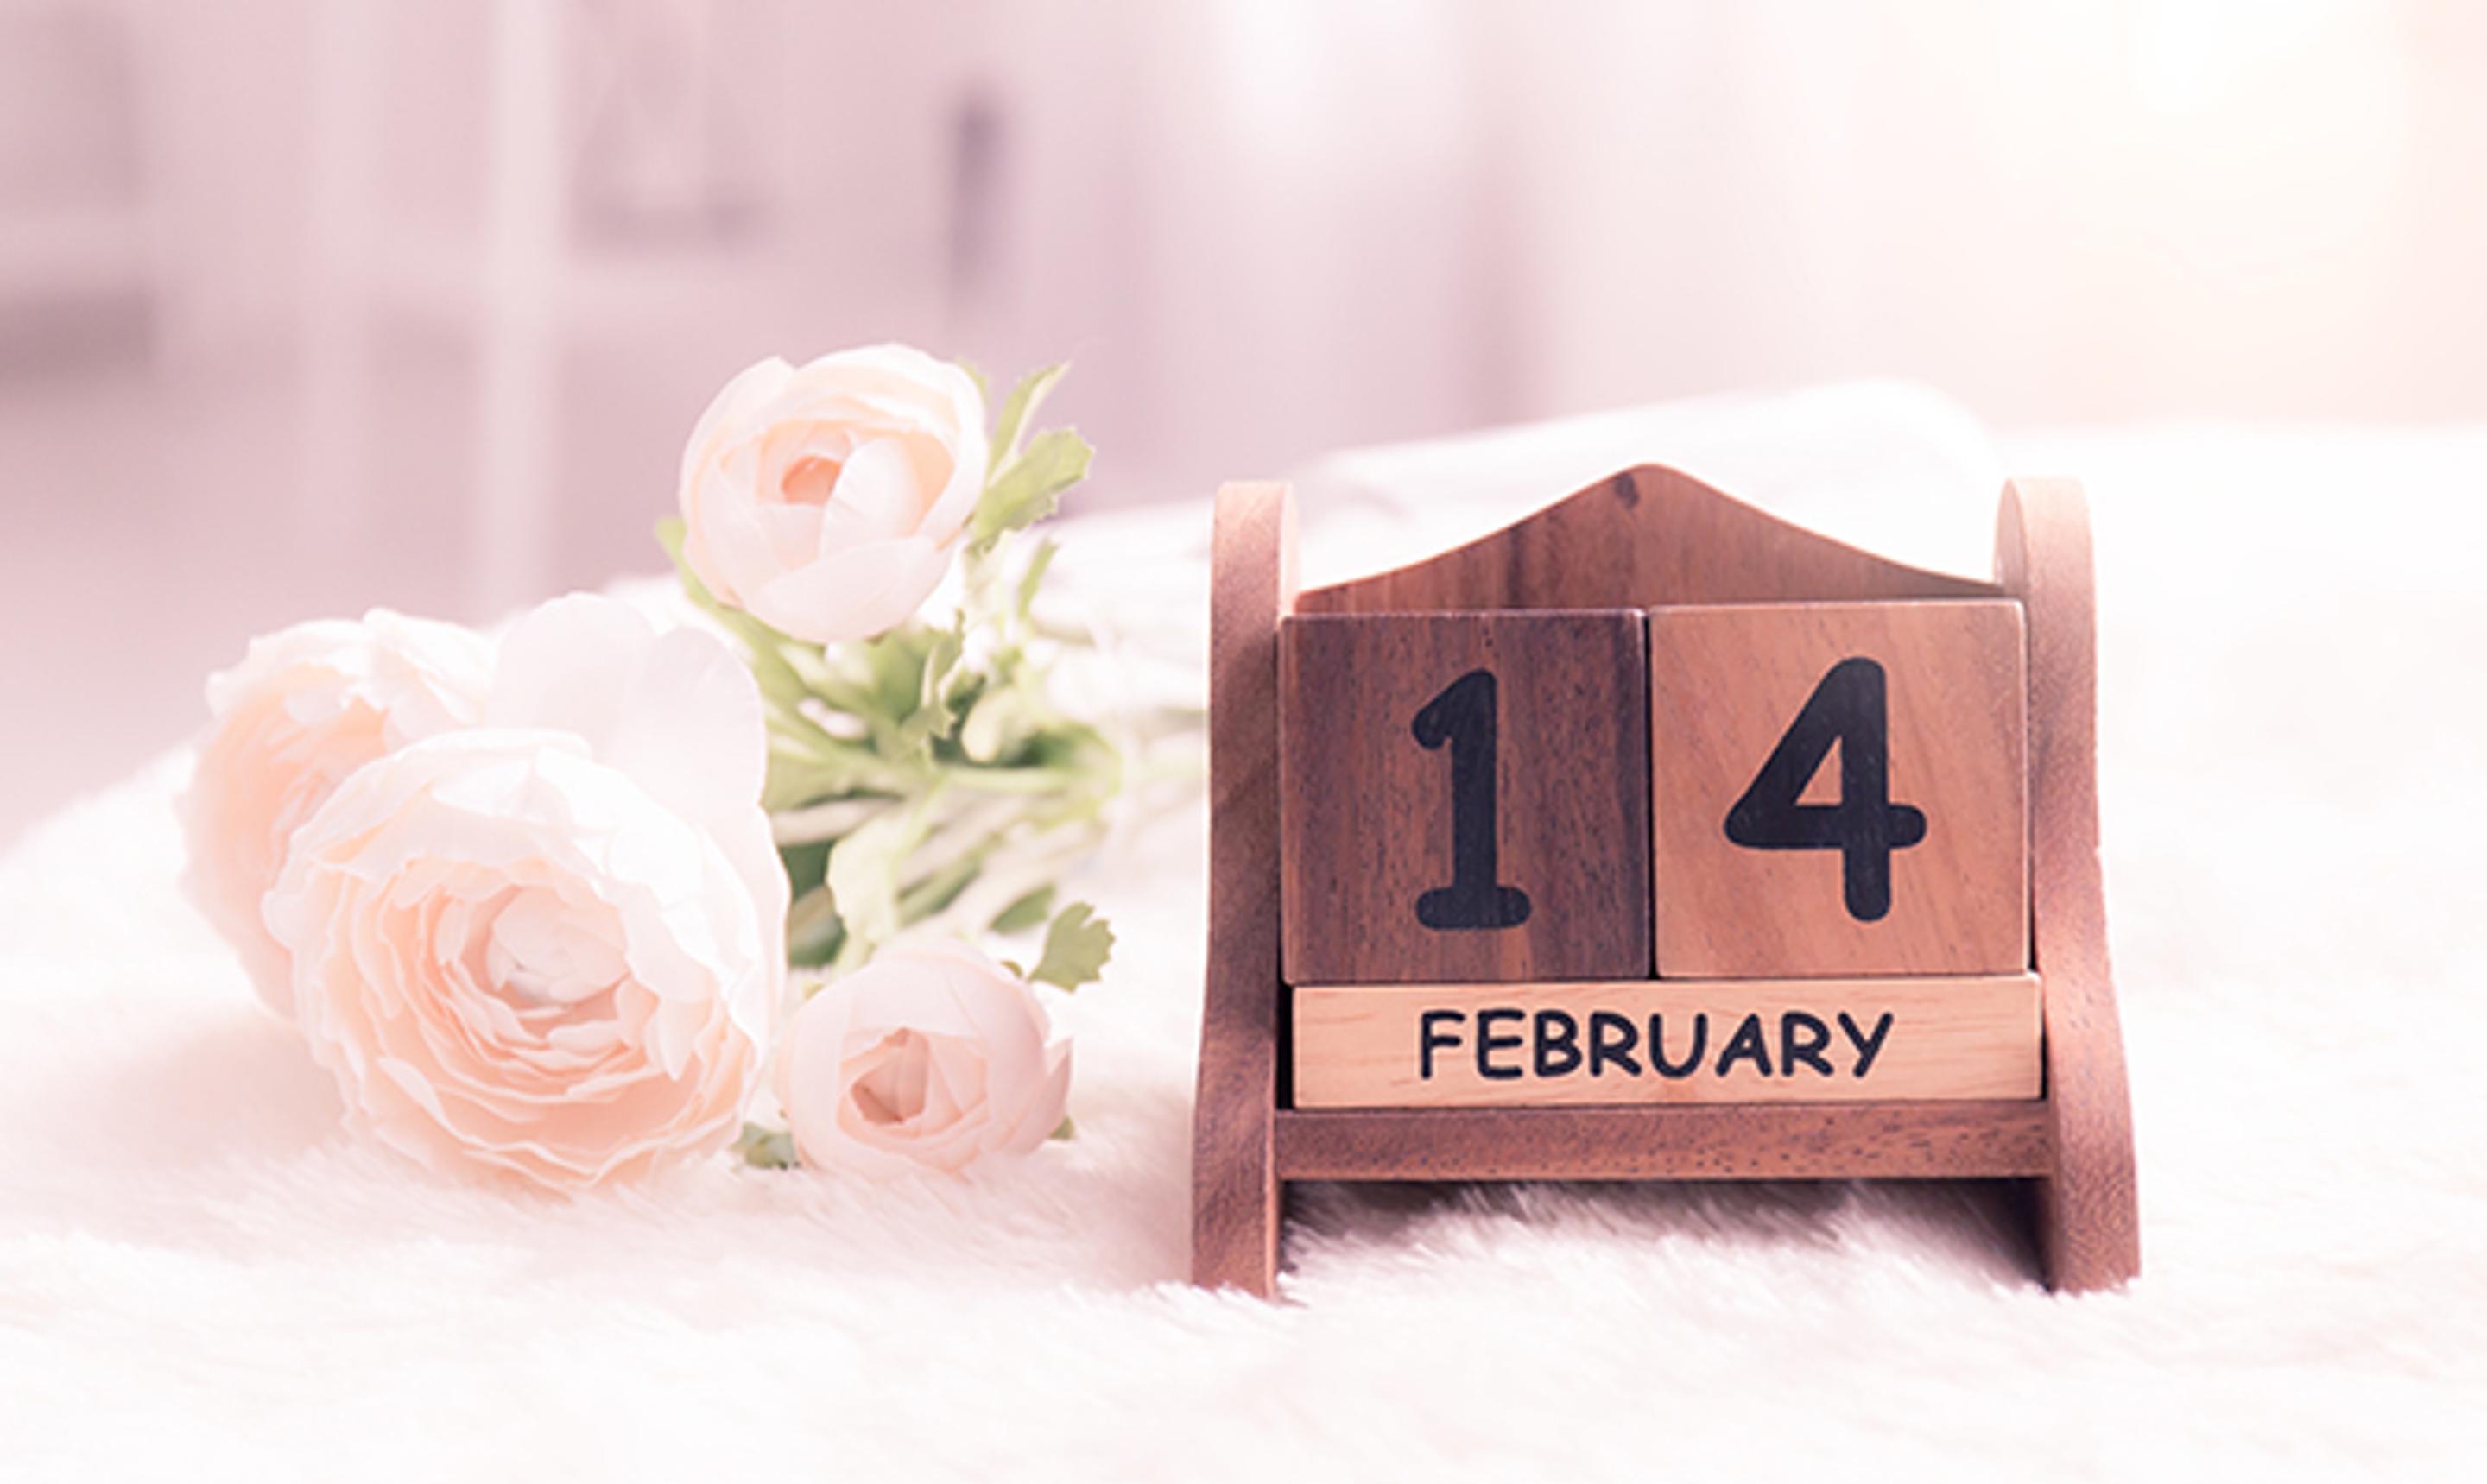
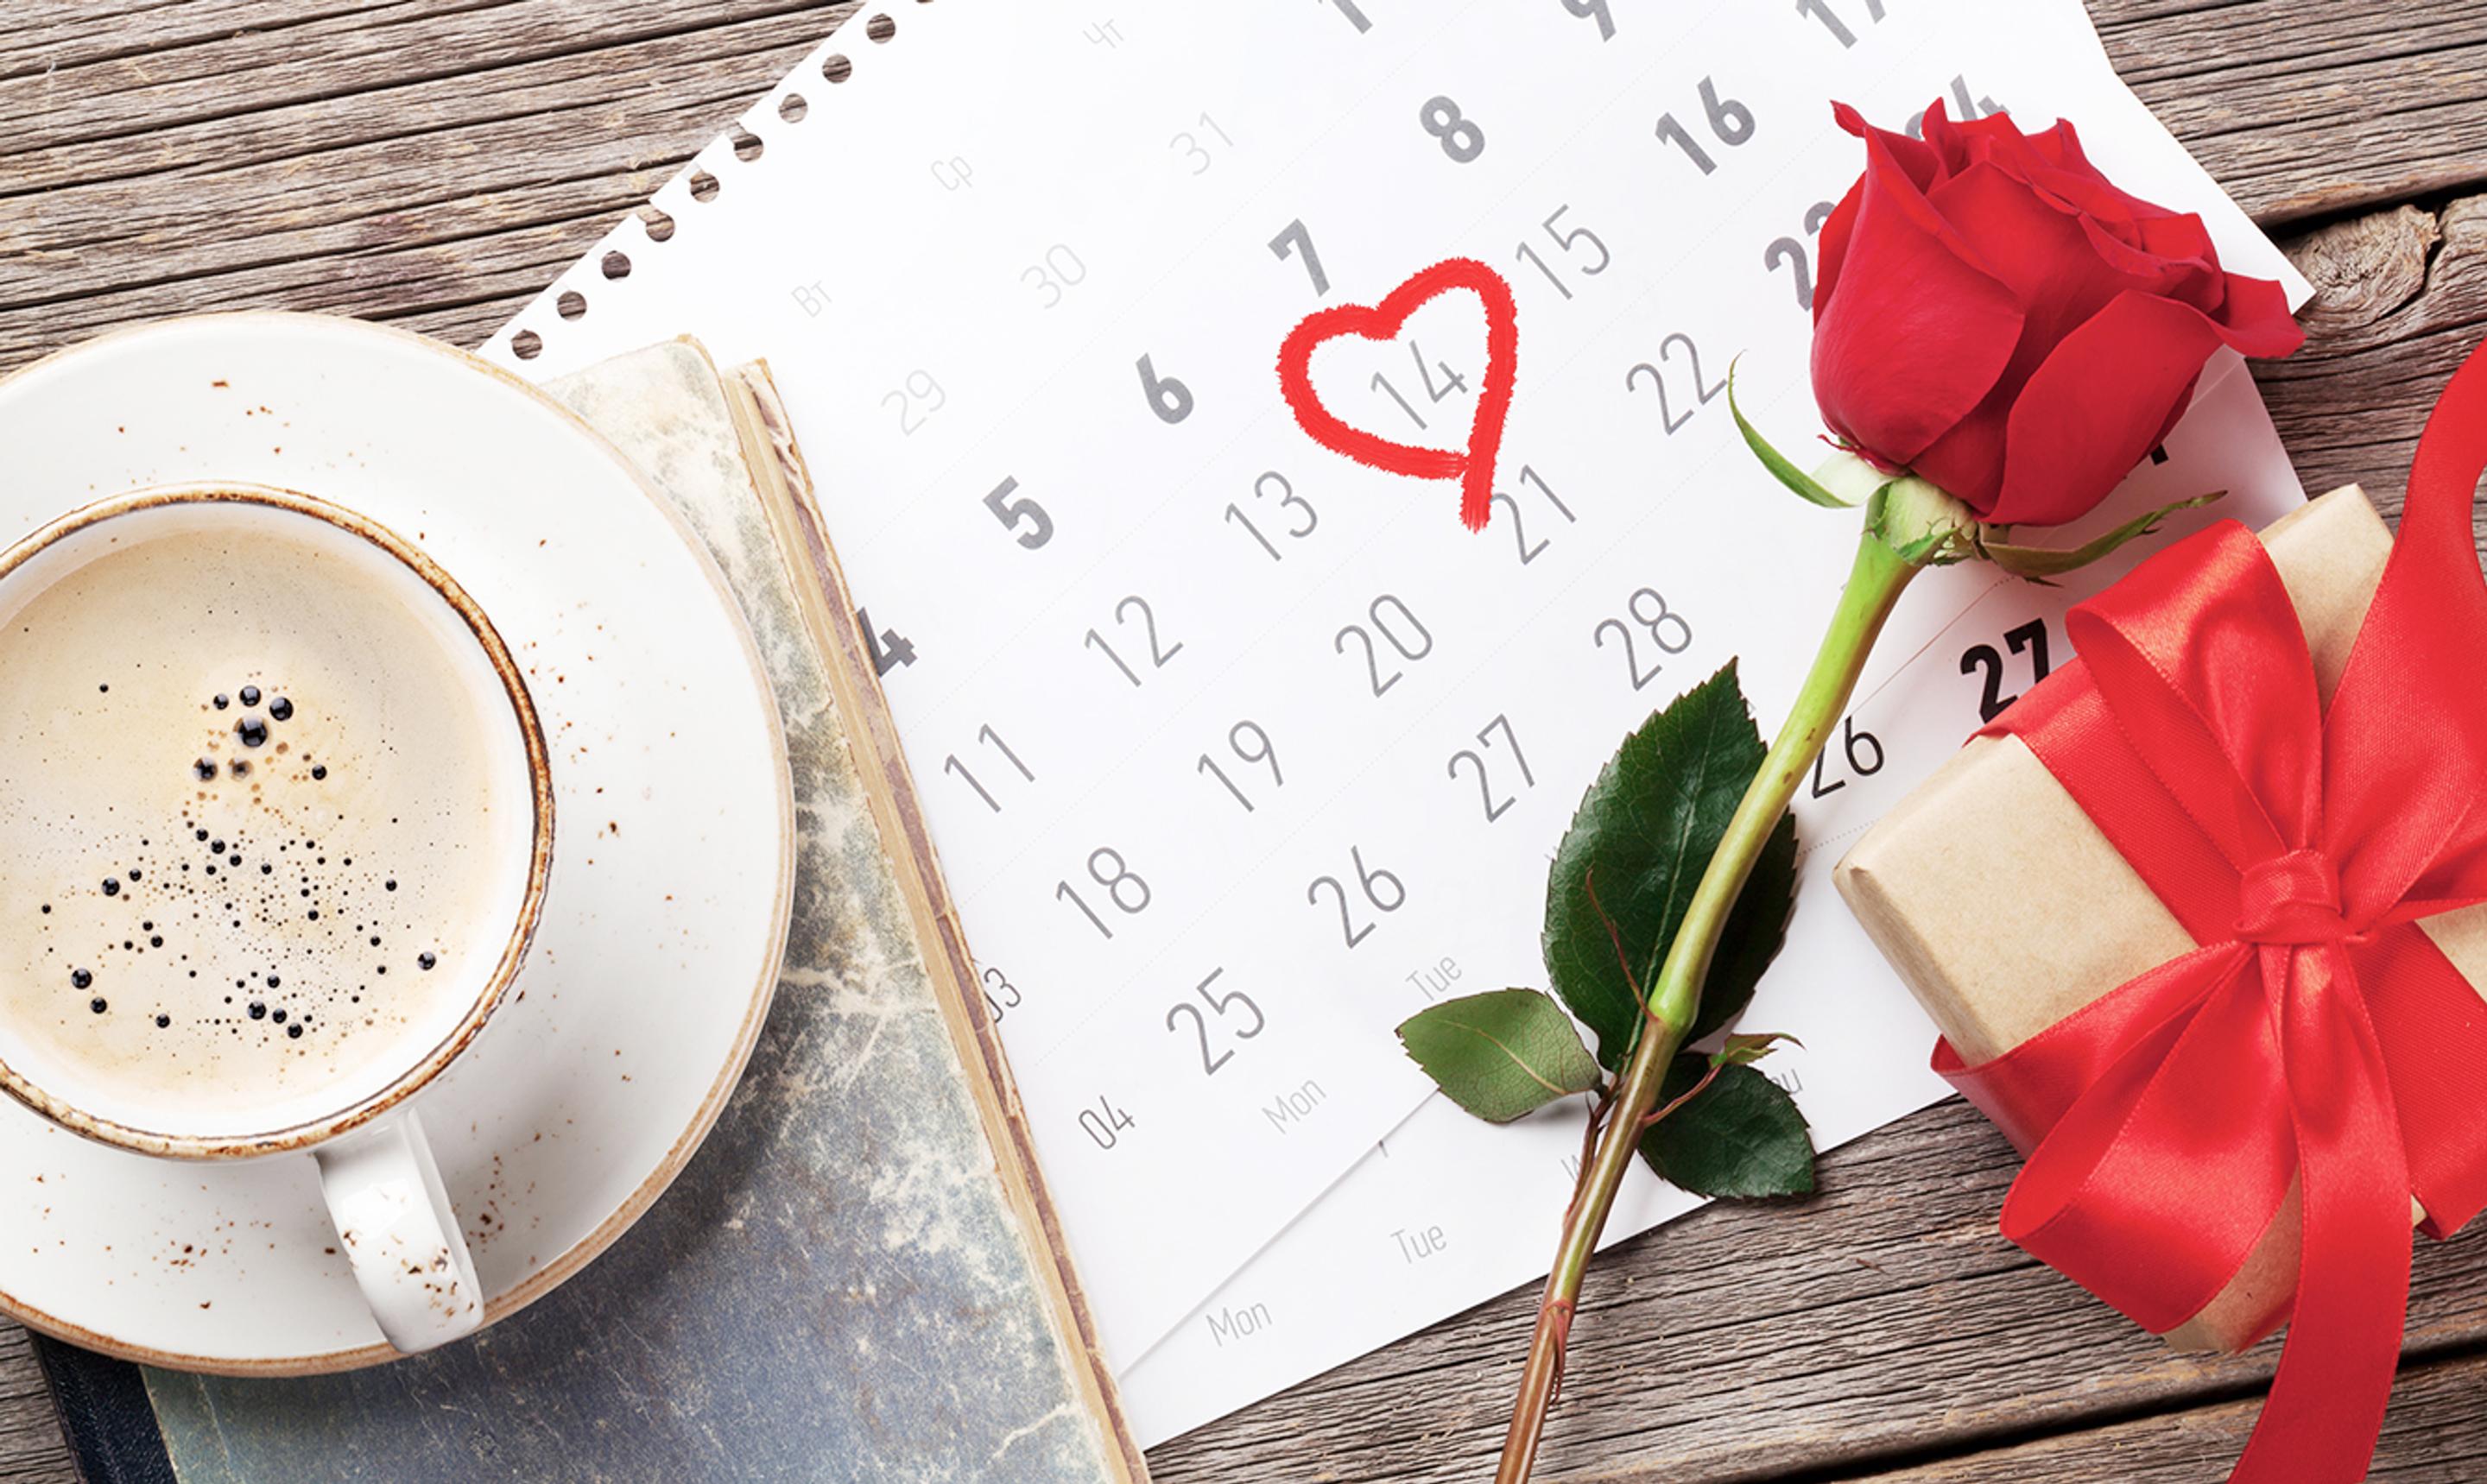
Valentine’s Day History & Meaning
Her Guide to Valentine’s Day Ideas for Him
What to Write in a Valentine’s Day Card
Valentine’s Day Date Ideas Your Significant Other Will Love
Valentine’s Day Gifts for a New Girlfriend
Valentine's Day Gift Guide for Every Relationship

7 Pet Safe Alternatives to Traditional Holiday Flowers

How to Make Flowers Last Longer
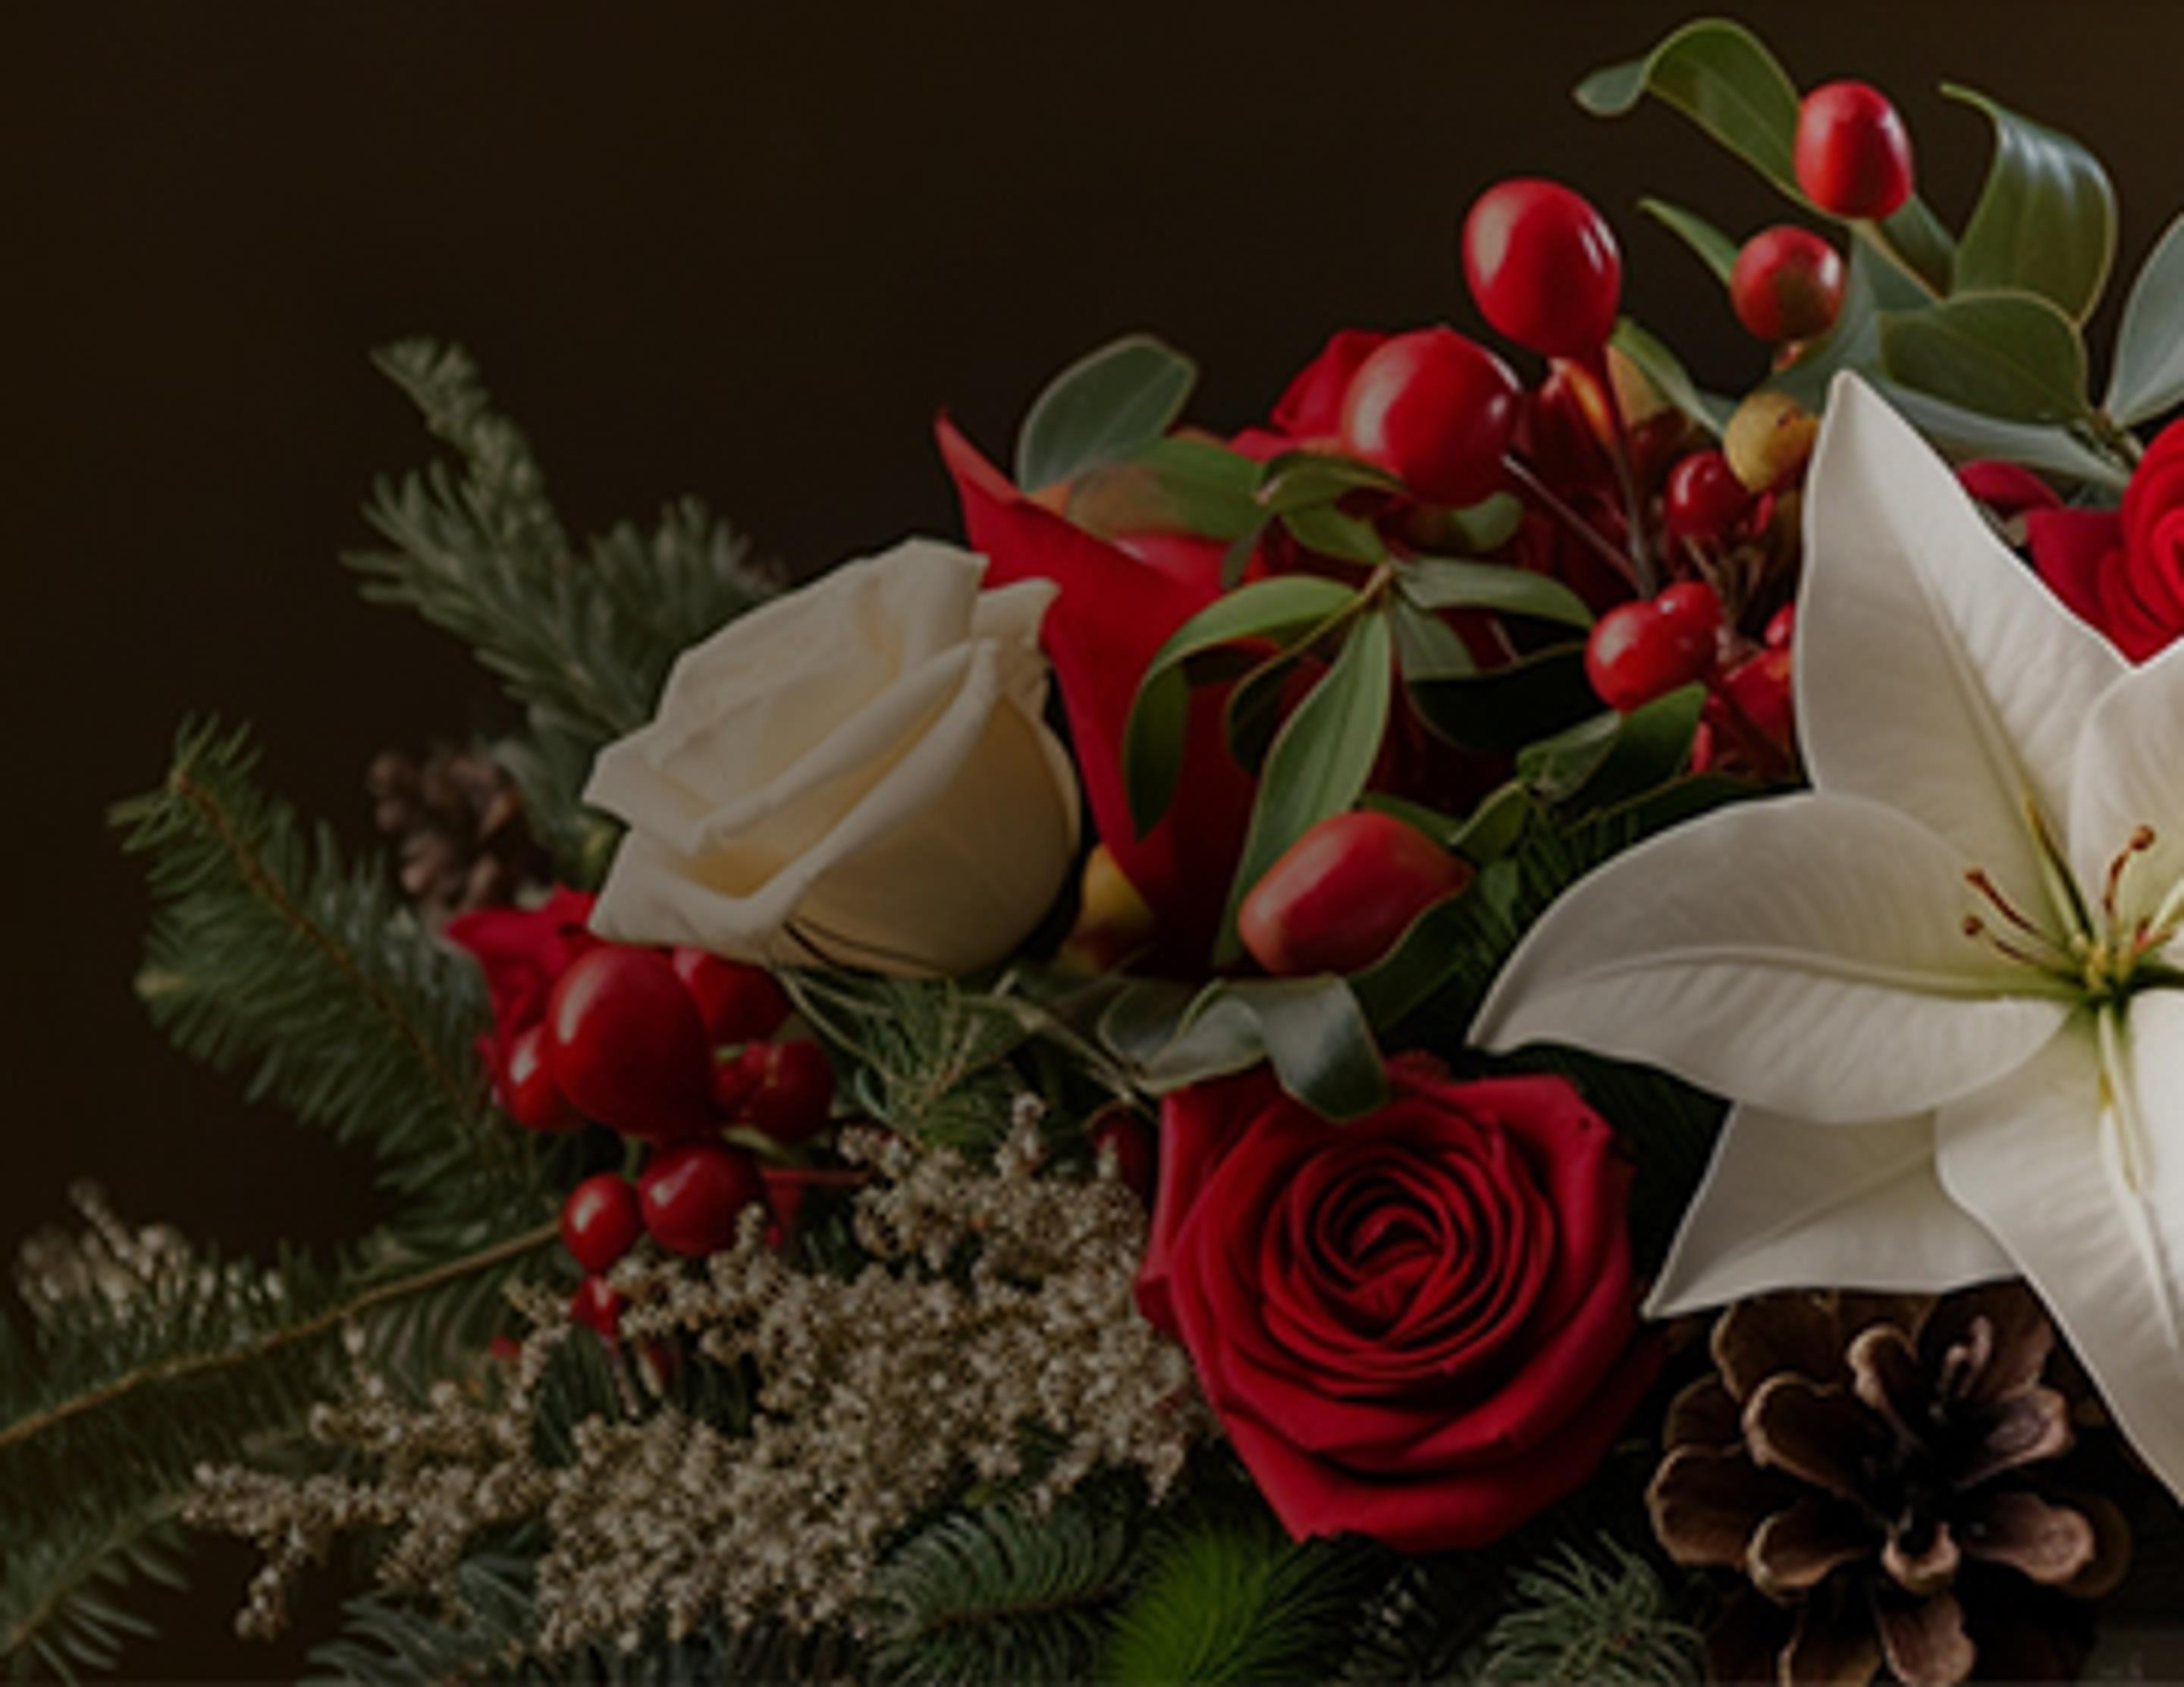
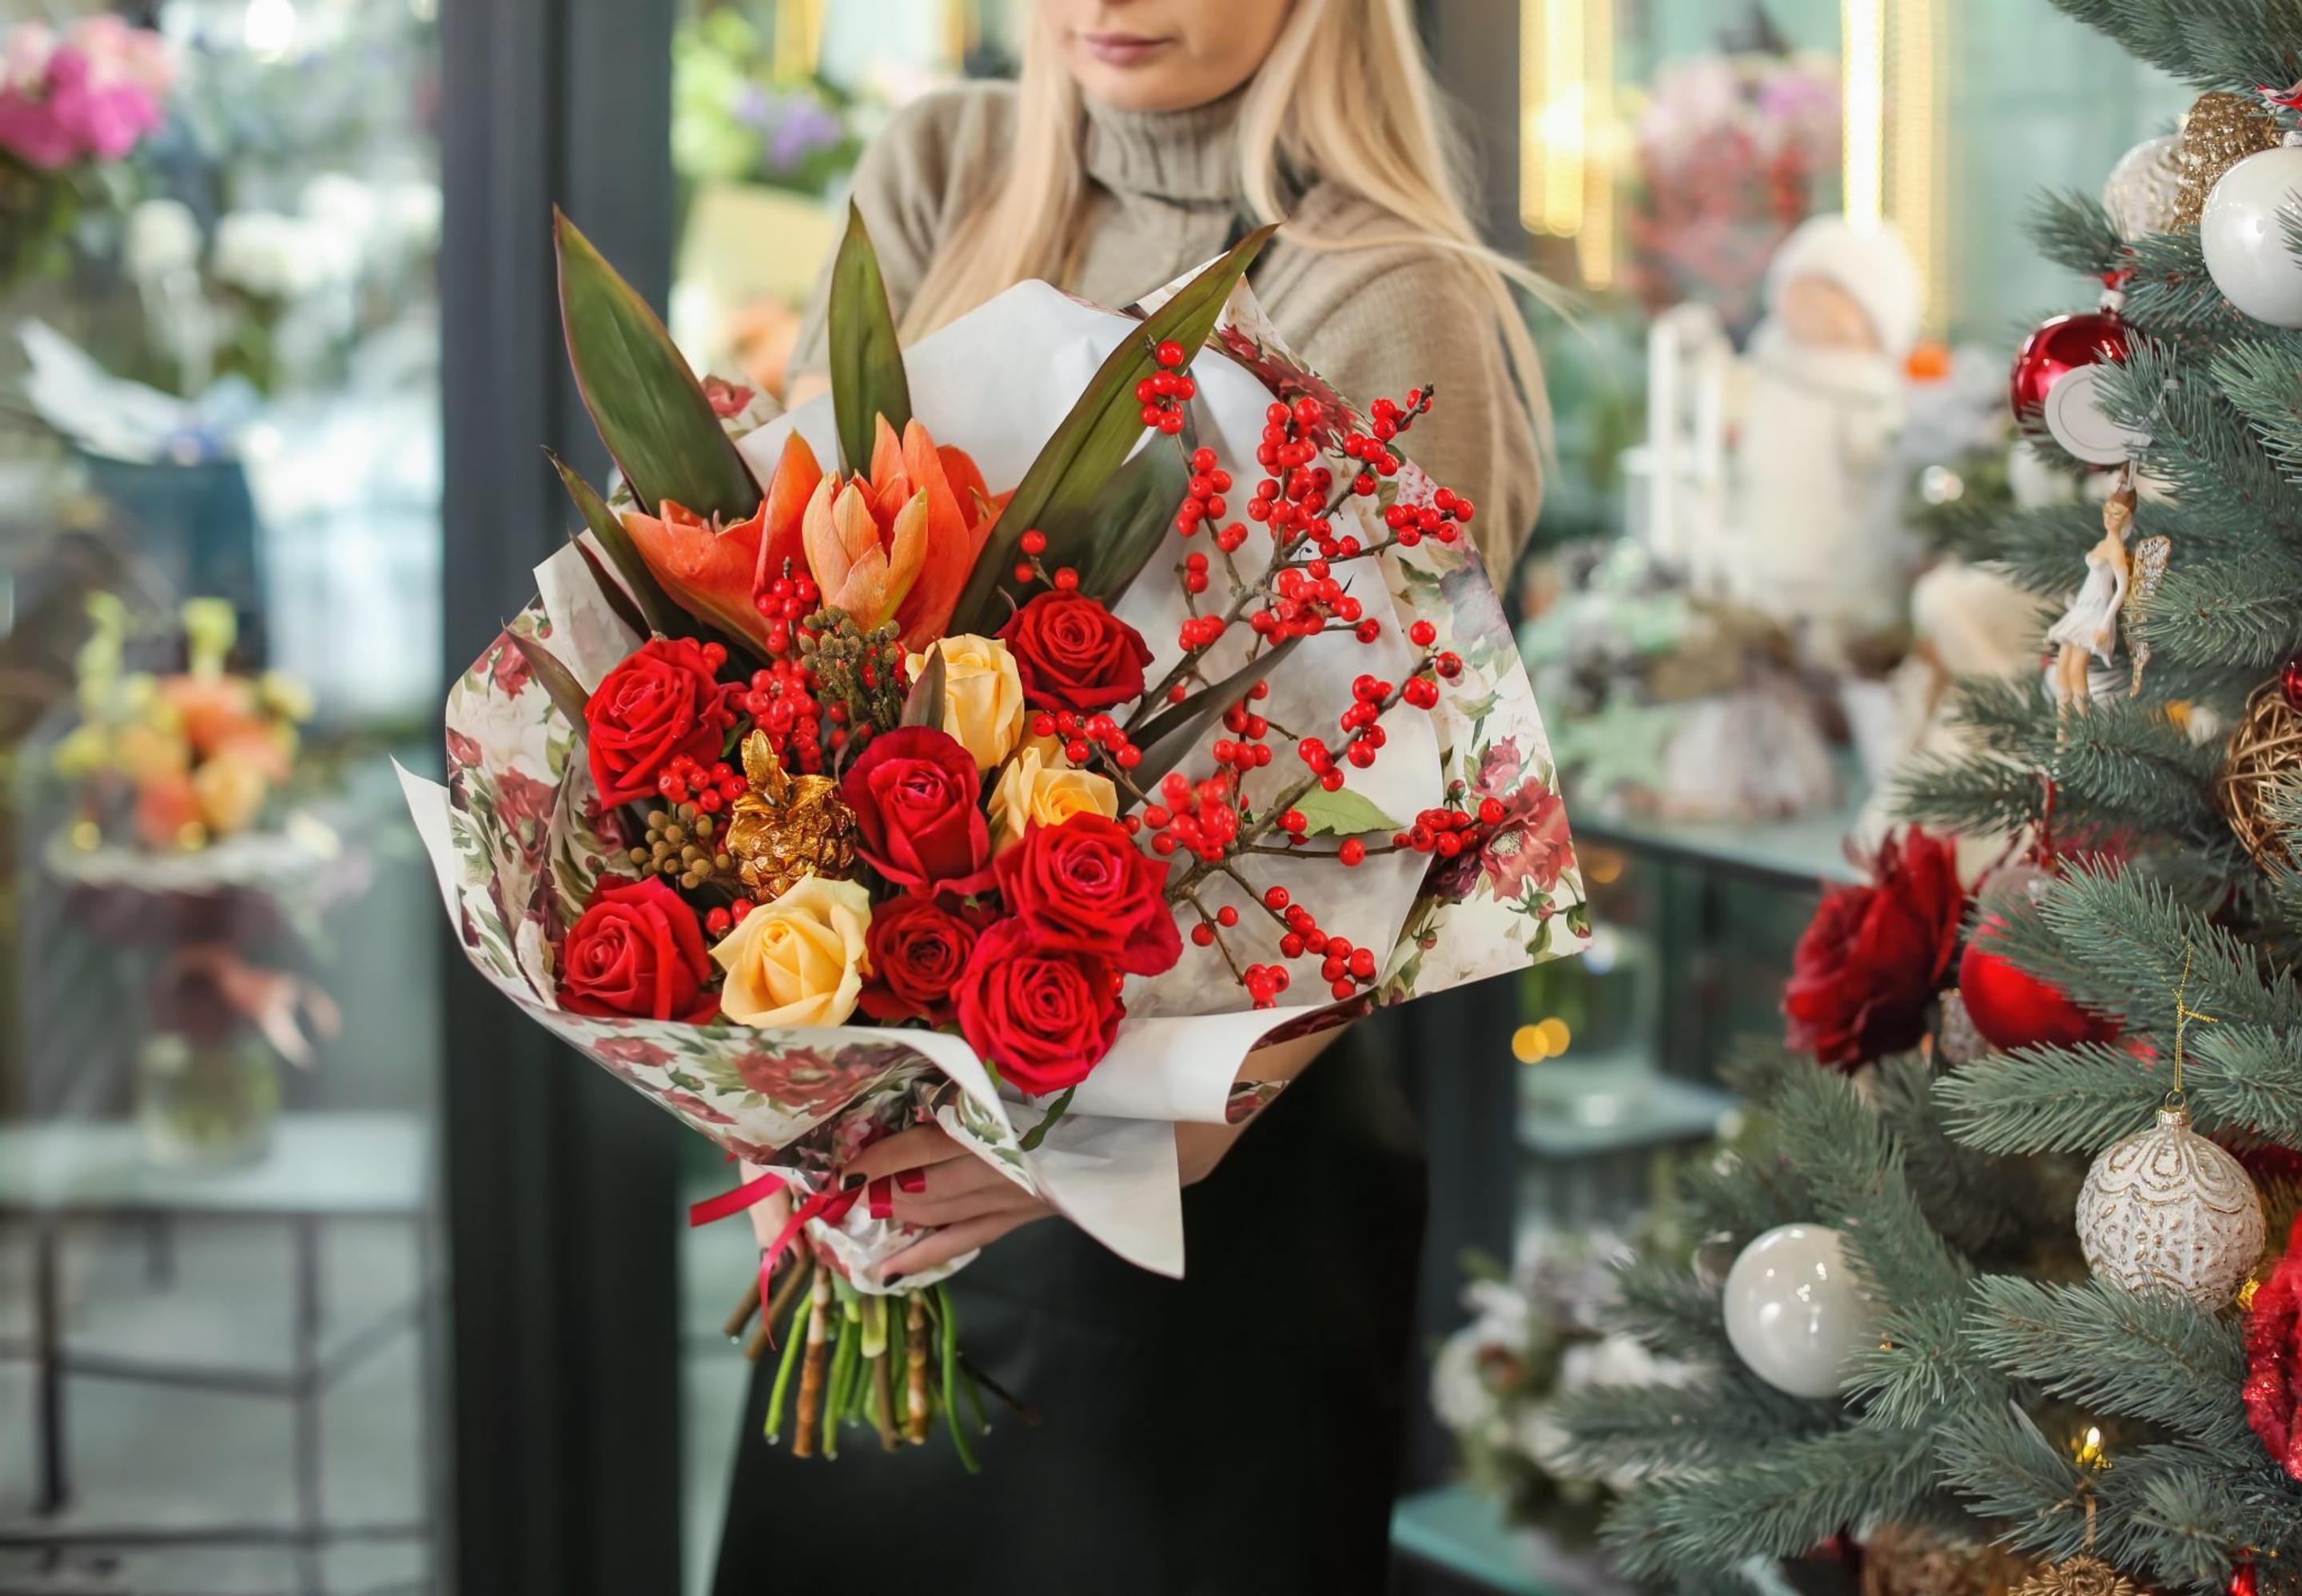
Christmas Flowers and Their Meanings
Symbolic Flowers for New Beginnings This New Year
Merry & Bright Christmas Card Messages & Greetings
Lovingly Holiday Gift Guide for Everyone on Your List
Our Guide to Cozy Winter Home Essentials & Gifts
Thanksgiving Greetings & Messages to Make Your Loved Ones’ Day

Creative Thanksgiving Centerpiece Ideas to Elevate Your Holiday Table
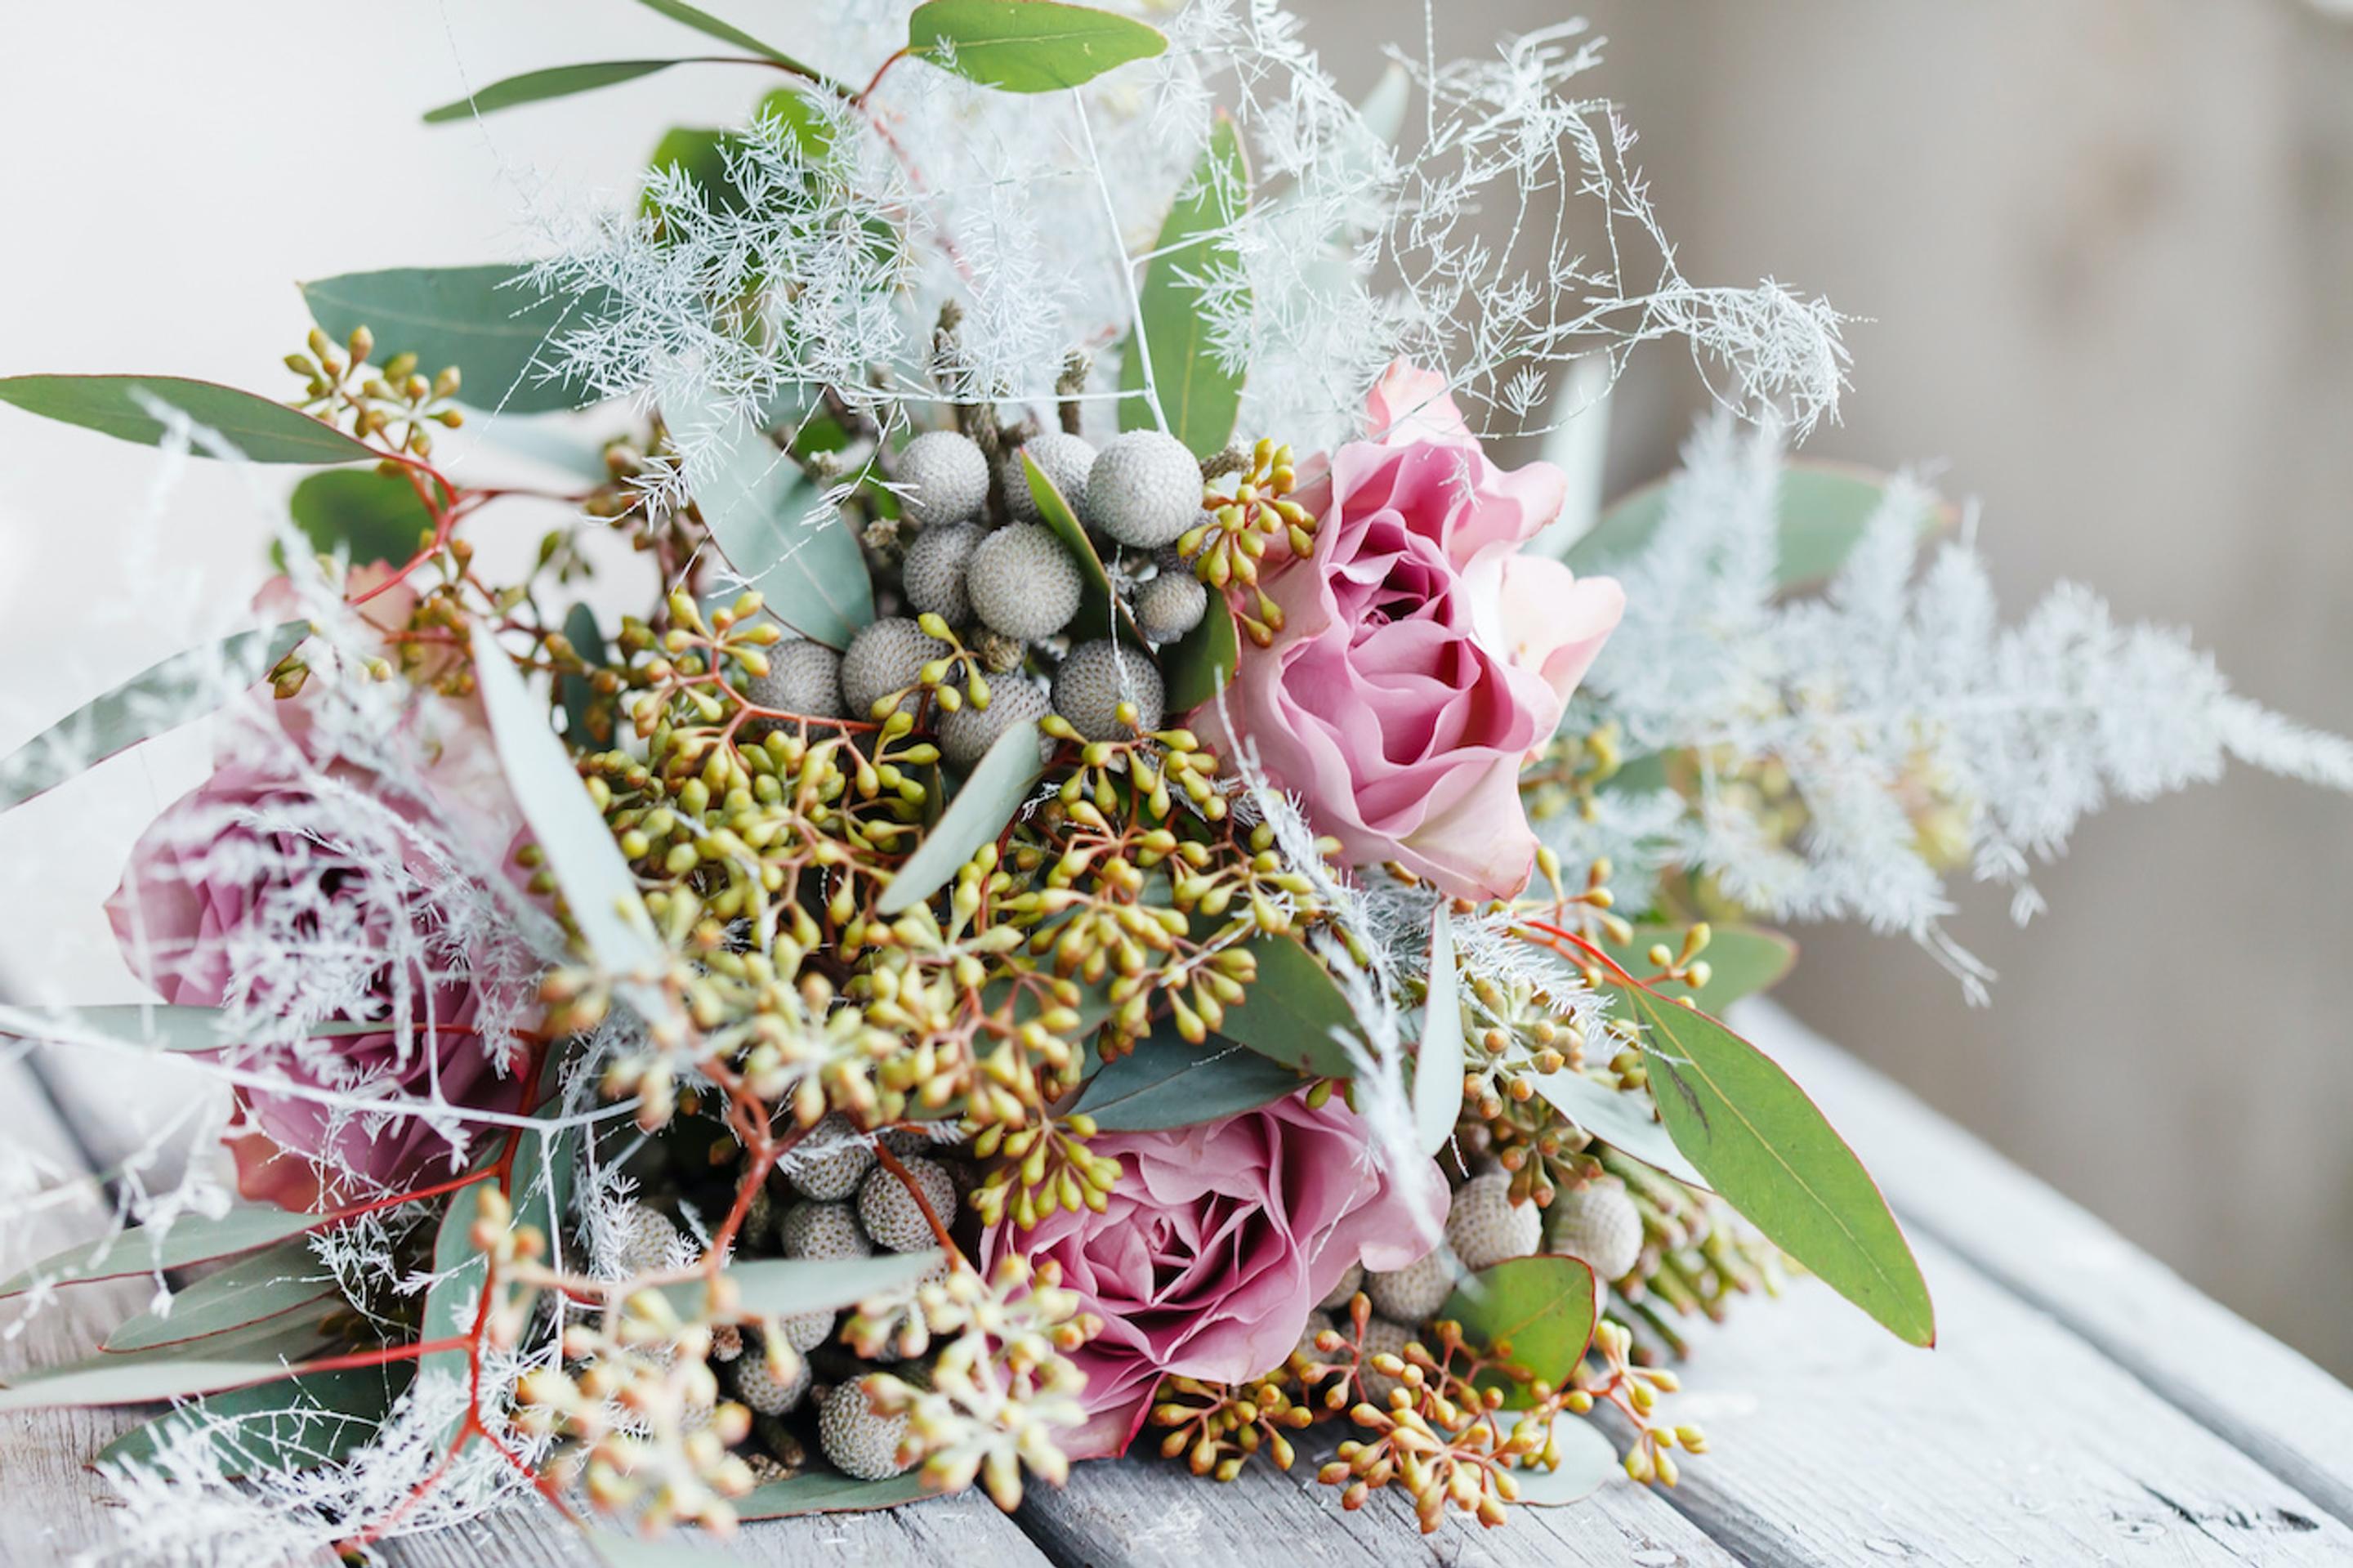
Everything You Need to Know About Winter Blooms
Thoughtful Thanksgiving Gift Ideas for Friends & Family
Day of the Dead Flowers, Meaning & Traditions

What To Write in a Birthday Card

What To Write in a Sympathy Card

How to Care for Your Fresh Cut Flowers

The Ultimate Guide to Flower Care: Tips and Tricks from Lovingly's Expert Florist Community
5 Facts and Traditions of El Día de las Madres
Top 11 Long-Lasting Cut Flowers
11 Ways to Show Your Favorite Florist Love this Valentine’s Day
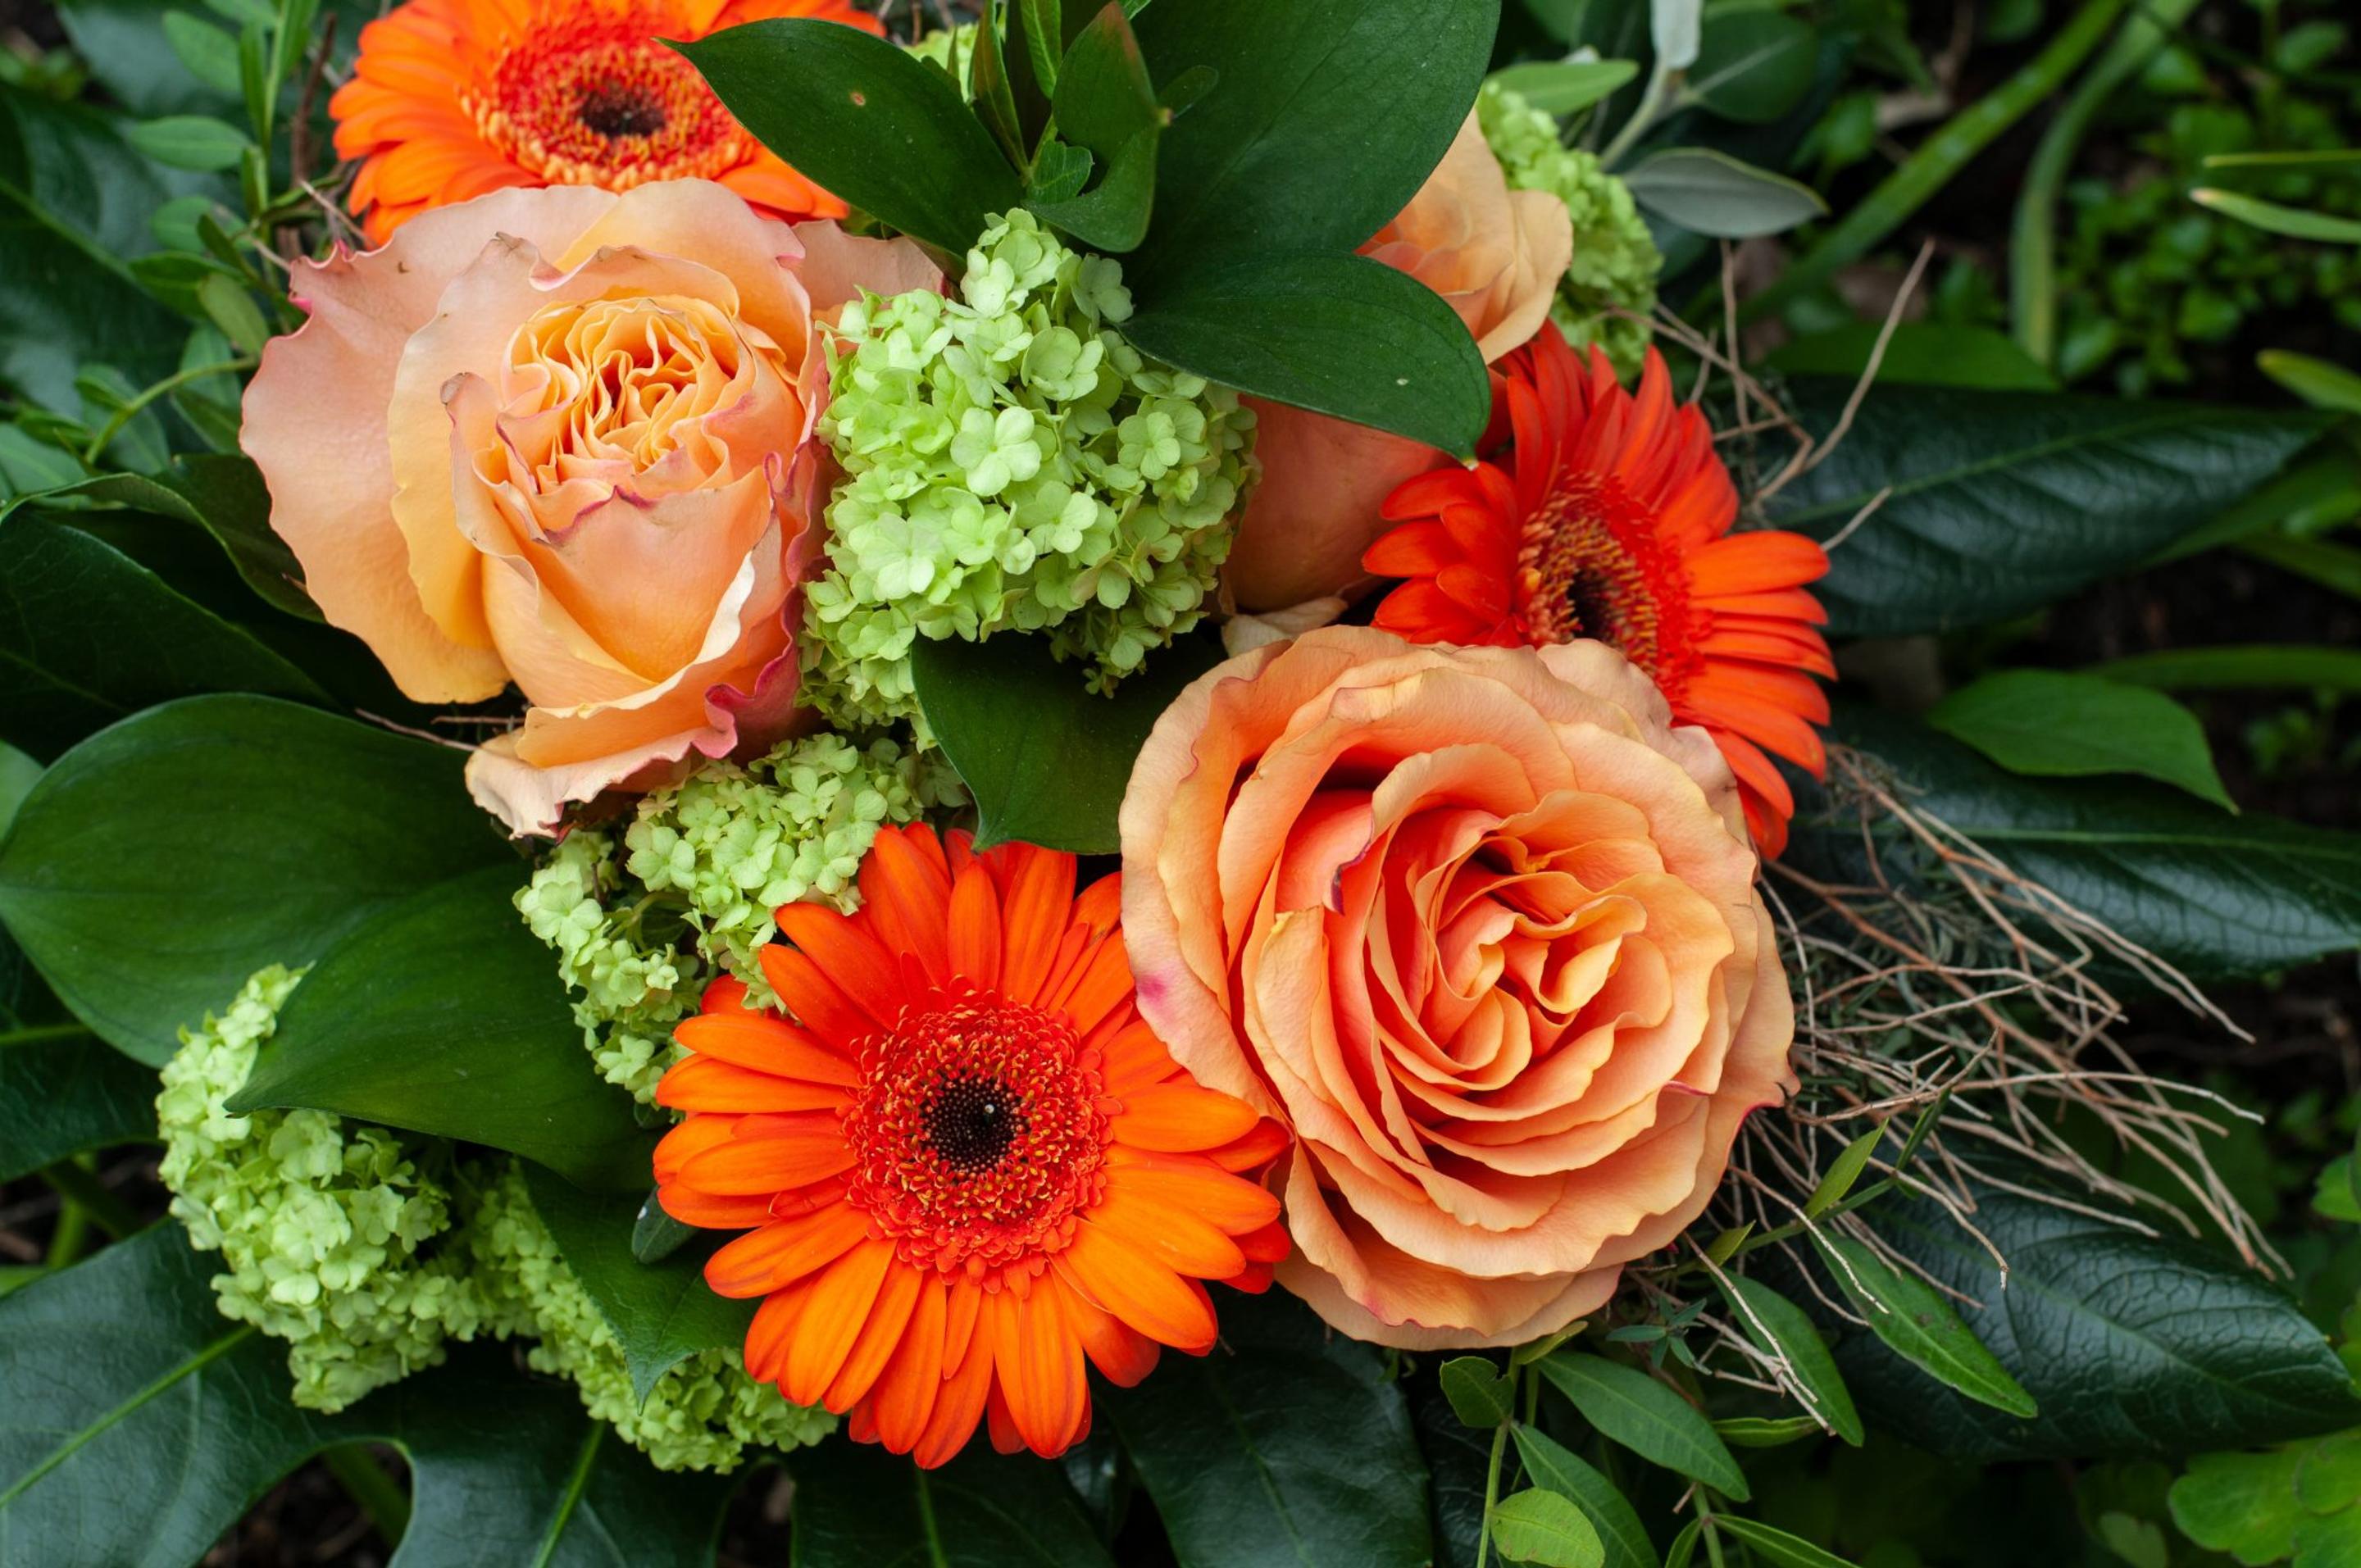
10 Most Exotic Flowers Around the World

9 Ways to Shop Local This Holiday Season
Holiday Parties: When Should You Bring Flowers?

Our Favorite Holiday Traditions

Holiday Gift Ideas for Mom
6 Thanksgiving Traditions Around the World
5 of the Craziest Reasons People Have Sent Flowers

Top 7 Flowers to Send On Admin Day

11 Ways You Can Be A Happier Person This Year
Top 9 Irish Flowers to Send This St. Patrick’s Day
Tips for Buying Valentine’s Day Flowers

7 Ways to Celebrate Yourself this Valentine’s Day
Holiday Decorating with Tips from Local Florists

9 Things to Know About Getting Married on Valentine’s Day
7 Long Lasting Florals for Valentine’s Day
Survival Guide: Dark Winter Days
5 Reasons to Shop Florist’s Choice
Birthday Gifts for Her: Thoughtful & Unique Gift Ideas She’ll Love
How to Care for Easter Lilies: Growing & Maintaining These Beautiful Blooms
Mother’s Day History, Meaning & Traditions: A Celebration of Moms Everywhere
Mother’s Day Card Messages: What to Write for Every Mom in Your Life
Galentine's Day Ideas & Inspiration
Valentine’s Day Quotes & Puns to Make Her Swoon
Valentine’s Day History & Meaning
Her Guide to Valentine’s Day Ideas for Him
What to Write in a Valentine’s Day Card
Valentine’s Day Date Ideas Your Significant Other Will Love
Valentine’s Day Gifts for a New Girlfriend
Valentine's Day Gift Guide for Every Relationship
7 Pet Safe Alternatives to Traditional Holiday Flowers
How to Make Flowers Last Longer
Christmas Flowers and Their Meanings
Symbolic Flowers for New Beginnings This New Year
Merry & Bright Christmas Card Messages & Greetings
Lovingly Holiday Gift Guide for Everyone on Your List
Our Guide to Cozy Winter Home Essentials & Gifts
Thanksgiving Greetings & Messages to Make Your Loved Ones’ Day
Creative Thanksgiving Centerpiece Ideas to Elevate Your Holiday Table
Everything You Need to Know About Winter Blooms
Thoughtful Thanksgiving Gift Ideas for Friends & Family
Day of the Dead Flowers, Meaning & Traditions
What To Write in a Birthday Card
What To Write in a Sympathy Card
How to Care for Your Fresh Cut Flowers
The Ultimate Guide to Flower Care: Tips and Tricks from Lovingly's Expert Florist Community
5 Facts and Traditions of El Día de las Madres
Top 11 Long-Lasting Cut Flowers
11 Ways to Show Your Favorite Florist Love this Valentine’s Day
10 Most Exotic Flowers Around the World
9 Ways to Shop Local This Holiday Season
Holiday Parties: When Should You Bring Flowers?
Our Favorite Holiday Traditions
Holiday Gift Ideas for Mom
6 Thanksgiving Traditions Around the World
5 of the Craziest Reasons People Have Sent Flowers
Top 7 Flowers to Send On Admin Day
11 Ways You Can Be A Happier Person This Year
Top 9 Irish Flowers to Send This St. Patrick’s Day
Tips for Buying Valentine’s Day Flowers
7 Ways to Celebrate Yourself this Valentine’s Day
Holiday Decorating with Tips from Local Florists
9 Things to Know About Getting Married on Valentine’s Day
7 Long Lasting Florals for Valentine’s Day
Survival Guide: Dark Winter Days
5 Reasons to Shop Florist’s Choice